Create Your Own Pregnancy Pillow Covers

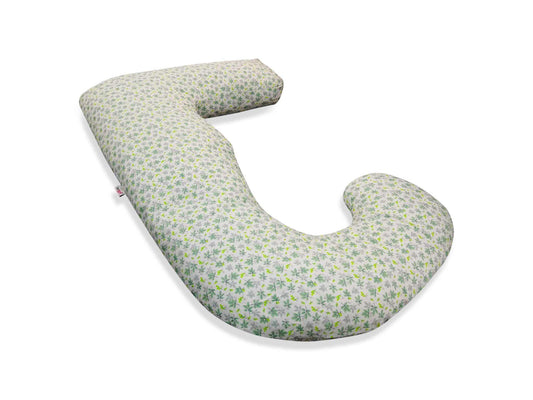
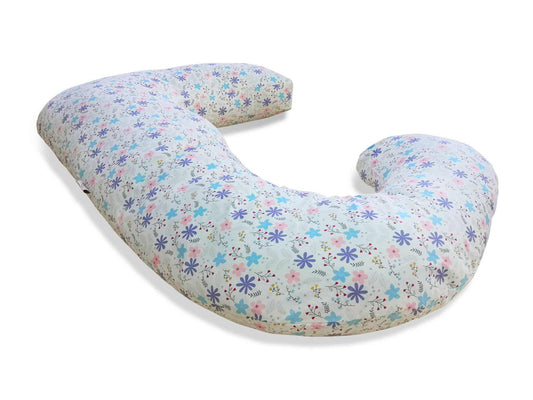
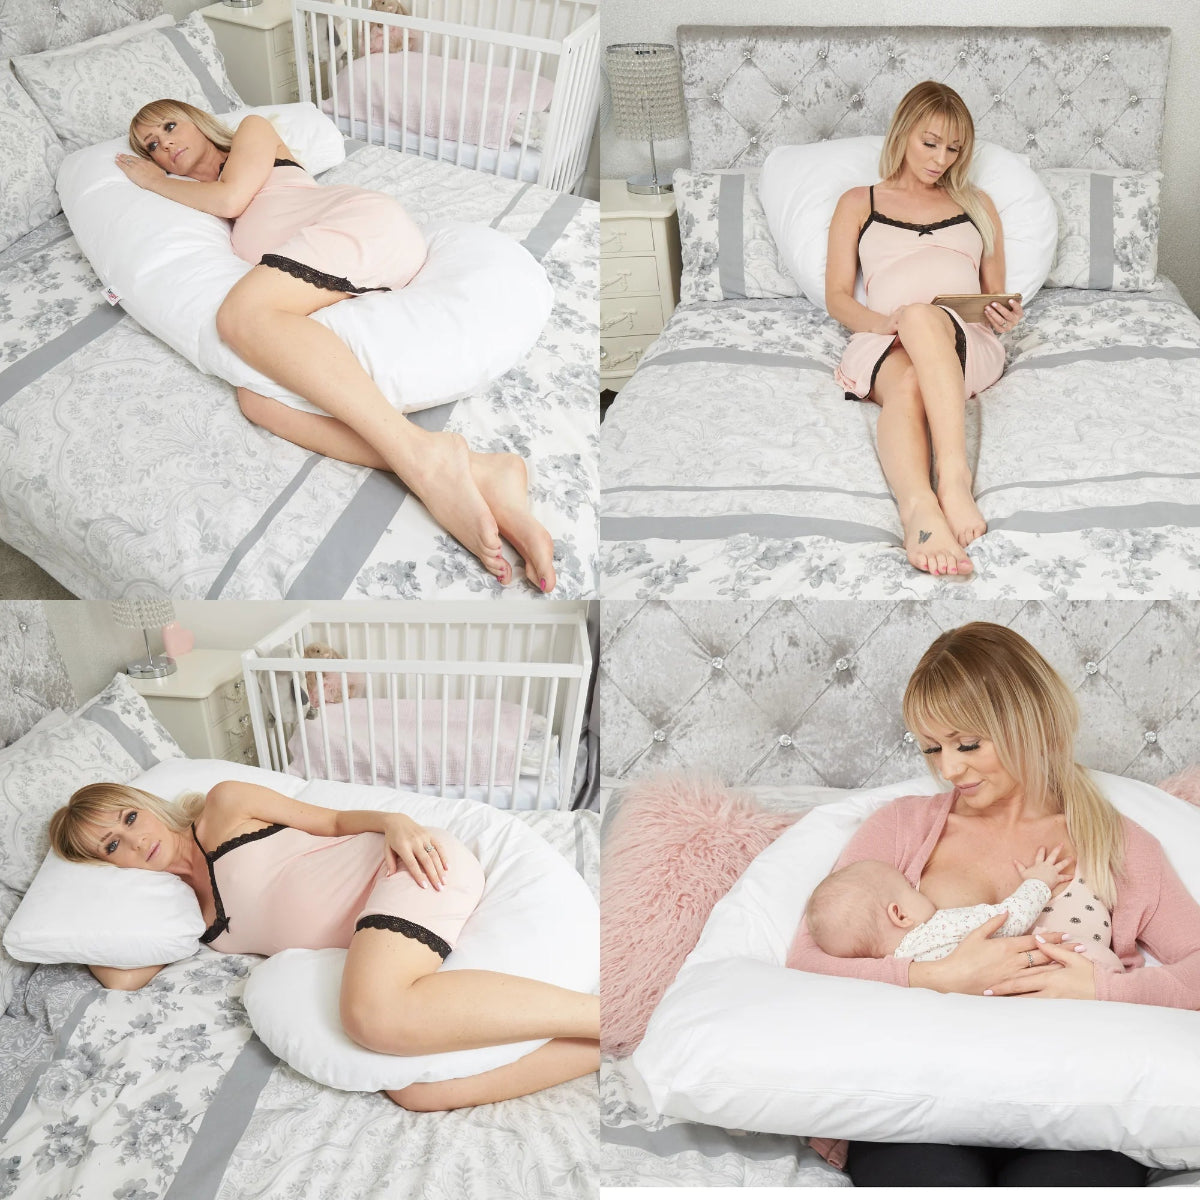
Making your own pregnancy pillow cover is more than just a sewing project — it’s a lovely way to personalise something you use every day for comfort and support. Whether you have a U-shaped pregnancy pillow, J-shaped pillow, or another maternity pillow, a custom cover brings new life to your sleep setup. This friendly guide walks you through each step, helping you choose the right fabric, prep your pieces, and sew everything together with ease.
And remember — this isn’t just a fabric cover. It’s a soft, cosy, personal touch that adds warmth to your pregnancy journey. Your colours, your textures, your comfort.
Prefer a Perfectly Fitted Cover Without the DIY?
If sewing feels overwhelming, our ultra-soft, breathable Sanggol® U-Shaped Pillowcase is designed to fit your U-shaped maternity pillow beautifully. A ready-made upgrade with no cutting, stitching, or guesswork.
Materials
Selecting the Right Fabric
A Mix of Comfy and Strong: When choosing fabric for your DIY pregnancy pillowcase, think about a balance between softness and durability. Cotton jersey, bamboo fabric, or flannel are excellent for U-shaped pillows and body pillows because they stretch gently and feel comfortable against sensitive skin.
Breathability Is Key: Pregnancy can make your body temperature fluctuate, so choose a breathable fabric to help regulate heat. Measure your U-shaped body pillow carefully and add seam allowance — just like tailoring clothing for the perfect fit.
Choosing the Right Thread
Pick a high-quality thread in a matching colour. This ensures your new body pillow cover is neat, secure, and long-lasting, even with daily use and frequent washing.
Sewing Method
A sewing machine makes the job quick and clean, but hand-sewing works too if you enjoy a slower, peaceful process. Either way, you can absolutely create a lovely pregnancy pillow cover at home.
You’ll also need:
- Sharp scissors
- Pins
- Measuring tape
- Tailor’s chalk or fabric marker (optional but helpful)
- Iron (for pressing seams and fabric)
Step-by-Step Guide
- Measure Your Pregnancy Pillow
Lay your U-shaped pregnancy pillow or J-shaped pillow flat on the bed or floor and smooth out any bumps so it sits in its natural shape. Using a soft measuring tape:
- Measure the length: Start at the top outer curve, run the tape down one side, around the bottom curve and up the other side. This gives you the full outside length.
- Measure the width of one “leg”: Place the tape straight across the thickest part of one arm of the pillow – this tells you how wide the pillow is.
- Measure the overall width: Measure from the outer edge of one leg straight across to the outer edge of the other. This is the full spread of your pillow.
Write these measurements down – they’re the base for your new pregnancy pillow cover.
What to do instead: Always measure the full length, the width of each pillow “leg,” and the total spread from outer edge to outer edge for a snug but comfortable fit.
- Add Seam Allowances
To make sure your pillowcase isn’t too tight, add a seam allowance to your measurements. A simple way to do this is:
- Add 2–3 cm (about 1 inch) to the length (for top and bottom seams).
- Add 2–3 cm to the width of the pillow “leg”.
- Add 2–3 cm to the overall width (for side seams).
If you’d like a slightly looser, more relaxed fit, add a little more. It’s always better for the cover to be comfortably snug than overly tight and strained.
Result: The pillowcase ends up too small and the seams strain or tear.
Fix: Always add at least 2–3 cm (around 1 inch) on each side before cutting.
- Cut Two Identical Pieces
Use your adjusted measurements (original measurements + seam allowance) to mark out a rectangle or rough “U” shape on the wrong side of your fabric with tailor’s chalk or a fabric pen. This shape will form the basic outline of your U-shaped pillowcase.
Fold the fabric so you can cut two layers at once, or cut one piece and use it as a template for the second. Pin the layers together and cut carefully so both pieces match – these will become the front and back of your pillow cover.
Fix: Draw your outline on the wrong side of the fabric before cutting and pin both layers together to keep the pieces symmetrical.
- Double-Check Dimensions
Before you start sewing, lay one of the fabric pieces flat and place your pillow on top. You should see a small border of fabric (your seam allowance) all the way around the pillow.
If the pillow is touching or hanging over the edge in any area, adjust now. Fixing the size at this stage is much easier than unpicking seams later.
- Organise and Prep
Gather everything you’ll need for sewing: pins, thread, scissors, and your sewing machine (or hand-sewing needle). Press the fabric pieces lightly with an iron if they’re creased – working with smooth fabric makes your stitches neater and your body pillow cover look more professional.
Once your pieces are cut, checked, and pressed, you’re ready to move on to pinning and sewing the edges.
Stage 2: Pin the Fabric
- Align Fabric Pieces
Place the two fabric pieces together with the right sides facing each other (the side you want on the outside later should be inside for now). Make sure all edges line up as closely as possible.
- Pin Around the Edges
Pin around the outer edges of the fabric, spacing the pins every few centimetres to keep the layers from shifting. Leave one short side or a small section unpinned and clearly marked – this will be your opening for turning the cover right-side out and inserting your pillow later.
How Wide Should the Opening Be?
The opening needs to be wide enough for your pillow to slide in and out comfortably. If it’s too small, the pillow will twist, bunch up, or put strain on the stitches when you insert or remove it.
To get the right size, measure the widest part of your pregnancy pillow (usually across the bottom curve of a U-shaped pillow). Aim to leave an opening that is:
- around 50–70% of that width, and
- a little wider if your pillow is very thick or densely filled.
For example, if the widest part of your pillow is 40 cm, your opening should usually be between 20–28 cm. This makes it easy to insert and remove the pillow without stretching the seams.
If you plan to add a zipper later, choose one that is the same length as the opening so the pillow can glide through smoothly.
Result: The pillow gets stuck halfway in, the cover twists, and seams may tear.
Fix: Measure the widest part of the pillow and leave an opening that’s 50–70% of that width. Match your zipper to the full width of this opening.
Once you’re happy with the opening width and the rest of the edges are pinned securely, you’re ready to sew.
Fix: Place pins every 5–7 cm, especially around curves, to keep both layers aligned.
Upgrading Your Pregnancy Pillow?
If your current pillow feels flat, unsupportive, or worn, a new cover won’t solve the problem. Many mums refresh their sleep by switching to a premium Sanggol® U-Shaped Pregnancy Pillow — soft, supportive, and shaped to cradle your whole body while you rest.
Stage 3: Sew the Edges
- Select Your Method
You can sew by hand or use a sewing machine. A sewing machine will give stronger, neater seams and is ideal for the long edges of a U-shaped pregnancy pillow, but hand-sewing works perfectly well if you keep your stitches small and even.
- Sew Along the Edges
Start at one corner and sew along the pinned edges using a straight stitch. Keep your stitches about 1 cm (⅜ inch) from the edge — this forms your seam allowance.
Move slowly around any curves, lifting and pivoting the fabric a little at a time to help the seam sit smoothly. Do not sew the opening you set aside earlier — you will need this space to turn the cover right-side out and insert your pillow.
Fix: Sew slowly and pivot the fabric gently on curves, and mark the opening with pins facing the opposite direction so you remember not to sew it.
- Reinforce Corners and Curves
Go over each corner or curve seam twice. Pregnancy pillows experience a lot of movement and pressure, so reinforcing these areas helps prevent stretching or tearing. Think of it like adding a little extra strength exactly where the pillow needs it most.
Stage 4: Clip the Corners
Clipping helps your pillow cover sit smoothly once turned right-side out.
- Use sharp scissors to trim a small triangle of fabric off each corner, staying just outside the seam.
- For curved edges (common with U-shaped pillows), make tiny snips every 1–2 cm along the curve to reduce bulk and help the fabric lie flat.
This simple tailoring trick makes the final cover look much more professional.
Result: The cover looks bulky and doesn’t lie flat.
Fix: Always clip tiny triangles at corners and notches along curves, being careful not to cut through your stitches.
Stage 5: Turn the Cover Right-Side Out
Reach into the opening and gently pull the fabric through until the right side is facing outward. Take your time — this step shapes your cover.
Use your fingers (or a blunt tool like a chopstick) to push out the corners and curves so they form neatly. When you're done, your cover should resemble the final shape of your pregnancy pillow cover.
Stage 6: Insert the Pillow
Prepare your pillow by fluffing it and redistributing the filling evenly.
Fold one “leg” of the pillow slightly and guide it through the opening. Work slowly, easing the pillow around the curves and into the casing bit by bit. Once inside, adjust the pillow with your hands to smooth any lumps and ensure the filling sits evenly.
Your U-shaped pillow should now be fully enclosed and resting naturally in the new cover.
Result: The filling bunches up and the cover twists.
Fix: Insert one section at a time and smooth the filling as you go.
Stage 7: Close the Opening
Fold the raw edges of the opening inward by about 1 cm to hide the cut fabric. Pin this fold securely.
You can close the opening using either method:
- Machine Stitch: Straight-stitch across the folded edge for a fast, secure finish.
- Ladder Stitch (Hand Sewn): Ideal if you prefer an invisible seam. This stitch pulls both sides together neatly so the opening blends into the rest of the cover.
Whichever method you choose, keep your stitches tight — this area experiences the most pressure when inserting or removing the pillow.
Result: The seam can split the first time the pillow is squeezed.
Fix: Use a tight ladder stitch by hand or a firm machine stitch and secure the ends with backstitching.
Optional: Adding a Zipper Closure
If you’d like to remove your pregnancy pillow cover easily for washing, a zipper is a neat, practical option.
- With the cover empty, fold the raw edges of the opening inward by about 1 cm (if you haven’t already) and press them flat.
- Lay the zipper face down so the teeth sit neatly between the folded edges. The zipper should be the same length as the opening you measured earlier.
- Pin the zipper tape to the folded edges along both sides.
- Using a zipper foot on your sewing machine, sew close to the zipper teeth on one side, then repeat for the other side.
- Backstitch at both ends for extra strength, then reinsert your pillow and zip it closed.
Optional: Adding Buttons
Buttons give a soft, handmade finish and are beginner-friendly.
- Fold and press the raw edges of the opening inward by 1 cm.
- Decide how many buttons you’d like (usually 2–4) and mark their positions evenly along one side of the opening.
- Sew the buttons securely in place.
- Lay the opposite side of the opening over the buttons and mark where each button touches to position the buttonholes.
- Create buttonholes with your sewing machine or by hand, then test that each button passes through smoothly.
Optional: Adding a Velcro Closure
Velcro is quick to open and close and works well if you want minimal fuss.
- Fold and press the raw edges of the opening inward by 1 cm on both sides.
- Cut velcro into 3–5 small matching pieces rather than one long strip (smaller pieces lie flatter and are easier to sew).
- Pin one half of each velcro pair along one edge of the opening and the matching half directly opposite.
- Sew around each velcro piece securely using a straight stitch.
- Press the velcro pieces together to close the opening and check that everything lies flat and feels comfortable.
Stage 8: Final Touches
Before using your new pregnancy pillow cover, take a moment to check the quality of your work:
- Run your fingers along the seam to make sure there are no gaps.
- Trim any loose threads for a clean, professional finish.
- Lightly press the cover with a warm iron to smooth out folds (use low heat on stretchy fabrics).
Fix: Always check seams and trim threads before first use so your cover looks neat and lasts longer.
Once everything looks neat and polished, your custom pillow cover is ready to enjoy — perfect for restful nights, naps, and everyday maternity comfort.
Optional: Decorate or Embellish
If you’d like to add a bit of personality, you can sew on buttons, piping, embroidery, or even a small monogram. These little touches turn your body pillow cover into something uniquely yours.
Choosing the Right Pregnancy Pillow Cover
A well-made U-shaped pillowcase or replacement pregnancy pillow cover keeps your pillow feeling fresh, hygienic, and comfortable. Cotton and jersey are ideal if you want a breathable, soft, long-lasting finish. And if you’d like a professionally sewn option, the Sanggol® U-Shaped Pillowcase provides a perfect, ready-made fit for U-shaped body pillows.
Why We Don’t Sell Cheap Pillows
Cheap pregnancy pillows flatten quickly, lose structure, and fail to support your bump, hips, and back — which can lead to restless nights. At Sanggol®, we prioritise long-lasting comfort using premium-grade filling and high-density support materials.
To understand why cheap pillows don’t last, here’s a helpful guide: 7 Compelling Reasons to Avoid Cheap Body Pillows.
Conclusion
Sewing your own pregnancy pillow cover is a rewarding, comforting project. With a little fabric, a bit of stitching, and your personal style, you can create something beautiful and practical. And if you’d prefer a ready-made option, Sanggol® has a full range of U-shaped pregnancy pillows and fitted pillowcases designed to support you through every trimester.
Frequently Asked Questions
Can I use a standard pillowcase on a U-shaped pillow?
No — U-shaped and J-shaped pregnancy pillows require shaped covers. A standard pillowcase will not fit properly and may feel too tight or loose in the wrong places.
What fabric is best for a pregnancy pillow cover?
Cotton and jersey fabrics are breathable, soft, and gentle on the skin — perfect for maternity use and for people who sleep warm.
Where can I buy a replacement pillowcase?
Our premium Sanggol® U-Shaped Pillowcase is available here:
Shop U-Shaped Pillow Covers.
Where can I buy a high-quality U-shaped pregnancy pillow?
Explore our full collection: Sanggol® U-Shaped Pregnancy Pillows.
Blog Post by Sanggol Blogs | Sanggolcomfort.com


